Table of Contents
ToggleThe Root Canal Procedure: Step-by-Step Guide
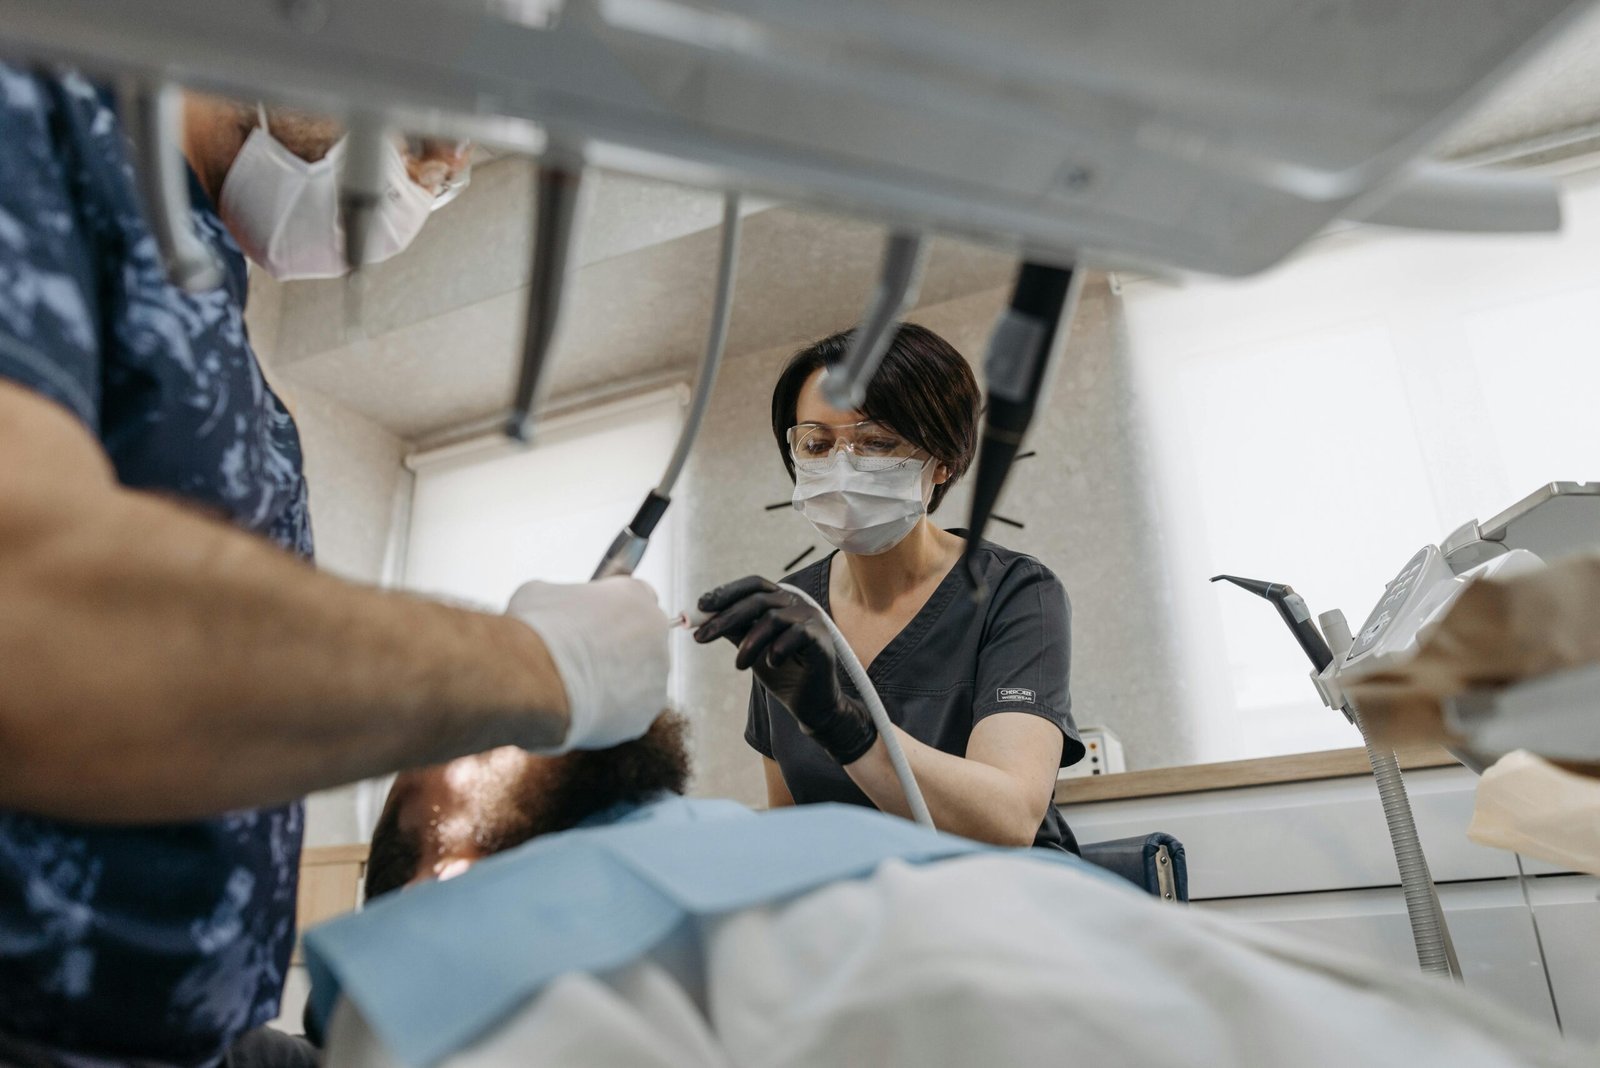
The root canal procedure has changed greatly in recent decades, becoming more efficient and less painful. It is beneficial for patients to be aware of these methods because they can reduce their anxiety and help prepare them for the treatment. Here it is possible to get detailed information about the important stages of root canal treatment, including pre- and post-treatment steps.
Pre-Procedure Steps
1. Consultation
- Initial Examination: It starts with the patient assessment, which a dentist or an endodontist is involved in in many cases. This step determines the problem that will require the root canal, making it significant.
- Medical History: To avoid complications and ensure successful treatment in the dental surgery, you should let the dentist or any other dental professional know of your medical history and any medication you may be taking.
2. X-rays and CBCT
- Diagnostic Imaging: Radiographs are used to establish the extent of the lesion and expose the internal structure of the tooth involved and the adjacent bone. This assists in determining the severity of the infection and the exact area affected by the decay.
- If the 2D X-ray suggests a root canal treatment may be necessary, the Endodontist will recommend a 3D CBCT (or CT) scan.
- Planning: Ray and CBCT images are obtained to plan the procedure and ensure that all aspects of the root canal are included in the treatment for the infection.
Detailed Explanation of Each Step in the Procedure
1. Anesthesia
- Local Anaesthetic: A local anesthetic injection temporarily paralyzes the tooth and the area. This step ensures that you don’t feel any discomfort during the treatment.
- Numbing: The anesthetic can take effect, numbing the tooth and the surrounding gum tissue completely.
2. Isolation
- Rubber Dam Placement: The tooth is isolated by a rubber dam so that it is not influenced or contaminated by saliva. This isolation helps in maintaining a clean working area and prevents contamination.
Access Opening
- Drilling: The dentist creates an opening in the tooth’s crown using a dental drill. This access opening enables the dentist to access the Pulp chamber and root canals.
3. Removing the Pulp
- Pulp Extraction: Root canal files are specialized instruments to remove infected or damaged pulp from the pulp chamber and root canals.
- Shaping the Canals: The canals are carefully shaped to ensure they can be thoroughly cleaned and filled later.
5. Cleaning and Disinfecting
- Irrigation: The empty canals are then washed with water containing an antibacterial agent to remove dust and bacteria that may be remaining on the surface. It is essential for eliminating bacteria and avoiding future infections from different sources at the workplace.
- Drying: The canals are dried using paper points to ensure no moisture remains, which could harbour bacteria.
6. Filling and Sealing
- Gutta-Percha Filling: These cleaned and empty canals are filled with a biocompatible gutta-percha material. This rubber-like material is inserted into the canals to fill the space once occupied by the pulp.
- Sealing the Canals: The gutta-percha is sealed with adhesive cement to prevent bacteria from re-entering the canals.
- Temporary Filling: If the procedure requires multiple visits, a temporary filling is placed in the access opening to protect the tooth between appointments.
7. Final Restoration
- Permanent Filling or Crown: During the last appointment, the last filling is done, and a permanent filling or the crown will then be used to restore the tooth. A crown is usually advised to strengthen the treated tooth further.
Post-Procedure Care and Follow-Up Appointments
1. Immediate Aftercare
- Pain Management: Once the effect of anesthesia wears off, there is usually some discomfort and sensitivity, which is normal. There are over-the-counter and prescribed pain relievers that can be used to manage any type of pain.
- Dietary Recommendations: Wait to chew with the treated tooth until the definitive restoration. In the initial days or weeks, it is advisable to restrict itself to Swallovale soft foods and avoid stuffy and cold foods.
2. Oral Hygiene
- Cleaning: Continue with regular brushing and flossing, but be gentle around the treated area. Good oral hygiene is recommended to minimize the chances of acquiring an infection.
- Avoid Hard Foods: Refrain from chewing hard foods or using the treated tooth to bite on complex objects to avoid damage.
3. Follow-Up Appointments
- Check-ups: By reaching all the follow-up appointments, the patients should be able to assess the pace of healing of the tooth in question.
- Final Restoration: If an auxiliary restoration (e.g., a temporary filling) was done, the patient should go back for the final restoration (e.g., a permanent filling or crown). This step is helpful in ensuring the durability of the root canal treatment.
4. Monitoring
- Watch for Symptoms: Inform your healthcare professional if you develop signs of inflammation or severe pain or if any signs or symptoms recur. You should report any of these to your dentist as soon as possible.
5. Long-Term Care
- Regular Dental Visits: This should then be followed by regular dental check-ups to check on the health of the treated tooth and any other complications that may arise from it.
Conclusion
However, when you understand what the dentist will do every step of the way, you will feel more relaxed. From the simple consultation and diagnosis to the complex and precise surgery and even the fine administration details after treatment, it seems the patient knows how much information they want and need. Dental check-ups and complications should be attended to frequently to avoid complications and rush to an expensive dentist.


